
Have you ever wondered how to build a tiki hut? Do you want to add a different style to your backyard? A tiki hut can be the perfect option. Or maybe you’re looking for other tiki hut ideas for your hotel or restaurant to make them more tropical and gorgeous.
Whatever plan you have, for home or commercial purposes, building a tiki hut is an excellent way to accomplish your goal; however, first, you need to know how to build a tiki hut.
There are several factors to consider when building a tiki hut. The first is the design of the tiki hut. The roof should have a slope of thirty degrees or more. The top should have an appropriate pitch so that water can run off it. A tiki hut should be able to handle the heat and rain effectively. Choosing the suitable materials for the tiki hut will depend on the size of the tiki hut you prefer.
Follow the following steps to learn how to build a tiki hut.
- Make your plan with specific ideas.
- Look for essential tools and materials.
- Measure and Cut the pieces of wood, plywood, and bamboo.
- Assemble the pieces to form the tiki hut.
- Decoration for your Tiki Hut
Tiki Hut Ideas: Make your Plan
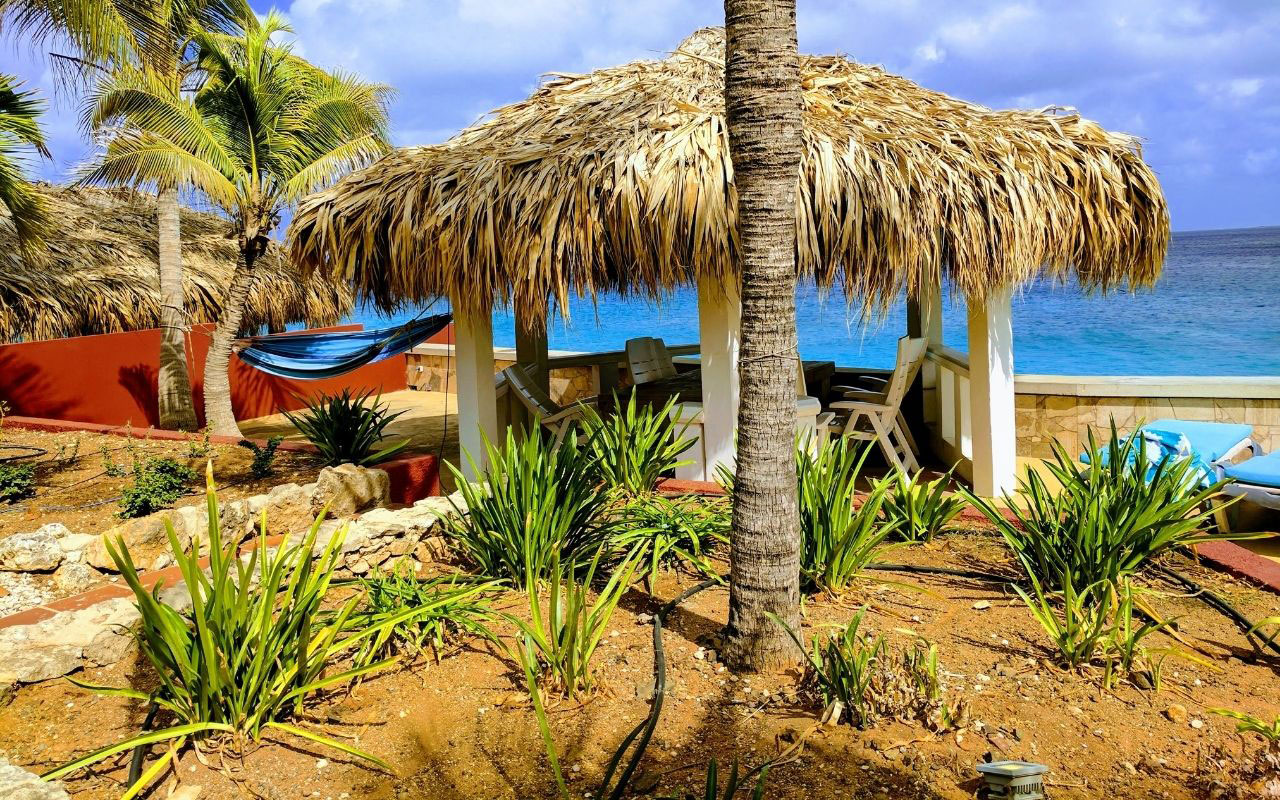
First of all, you need to select the style of the tiki hut you want, all of this for following a plan and looking for an adequate one. Remember that the use you will give to your new tiki hut can define its size, high, and other characteristics.
There are various ideas of tiki hut; for instance, tiki bar, tiki hut restaurant, tiki hut umbrella, and more. In addition, you can look for the place where you want to put it; for example, backyard tiki hut ideas and in commercial sites ideas.
Thus, a popular idea is a backyard tiki bar; if you want to do it yourself, you will surprise your guests, and remember that here at Sunshine Tiki Hut, we will be happy to bring you our services. Another popular idea is to build a tiki bar near the pool deck; moreover, remember that you can have a custom-built one.
Size and Location
You should first decide on the size of your tiki hut before beginning the construction process. The primary dimension of a tiki hut is eight square feet. The height and width of each section of the tIki hut can vary greatly, so it is essential to know what they are before you begin. You should also plan for a tiki teepee and how to add shelves or a bar.
Once you have chosen a size, you must select a location for the tiki hut. You may want to place it close to the pool, or you can put it in the middle of your yard.
After selecting the place and the style, you can pass to the next step; look for the tools and materials.
Look for Tools and Materials for your Tiki Hut
If you plan to do it yourself, looking for tools and materials is really essential.
To start with the tiki hut, you have to list the following tools.
- Nails and hammer
- Sharp saw for wood or metal, this to cut the bamboo
- Protection equipment like gloves, goggles,
- Measuring tape
Moreover, the materials can vary depending on the style of your decision, but the most common are thatch for roofing and plywood, bamboo, wood, palms, palm leaves. When constructing a tiki hut, ensure you use quality wood and avoid pressure-treated woods.
Measure and Cut the Wood for your Tiki Hut
Now that you have all the materials, you must use the measuring tape to mark the length in the wood and cut it with the saw. You need to cut the corner posts, which support the structure; you can use bamboo for the wall.
Also, you need to measure and cut the pieces of wood for the roofing structure.
Put Together the pieces of wood to Assemble the Tiki Hut
For the corners post, you need to bury them slightly so that their support is higher. If you want to create a more private space, use a post-hole digger to dig holes in the ground. Once you have inserted the tiki hut posts into the ground, use cement to secure them to the floor. To stabilize the posts, fill buckets with sand to keep them moving.
With all the pieces of wood with the correct measure, all you’ll need to do is assemble the structure with the harm and nails.
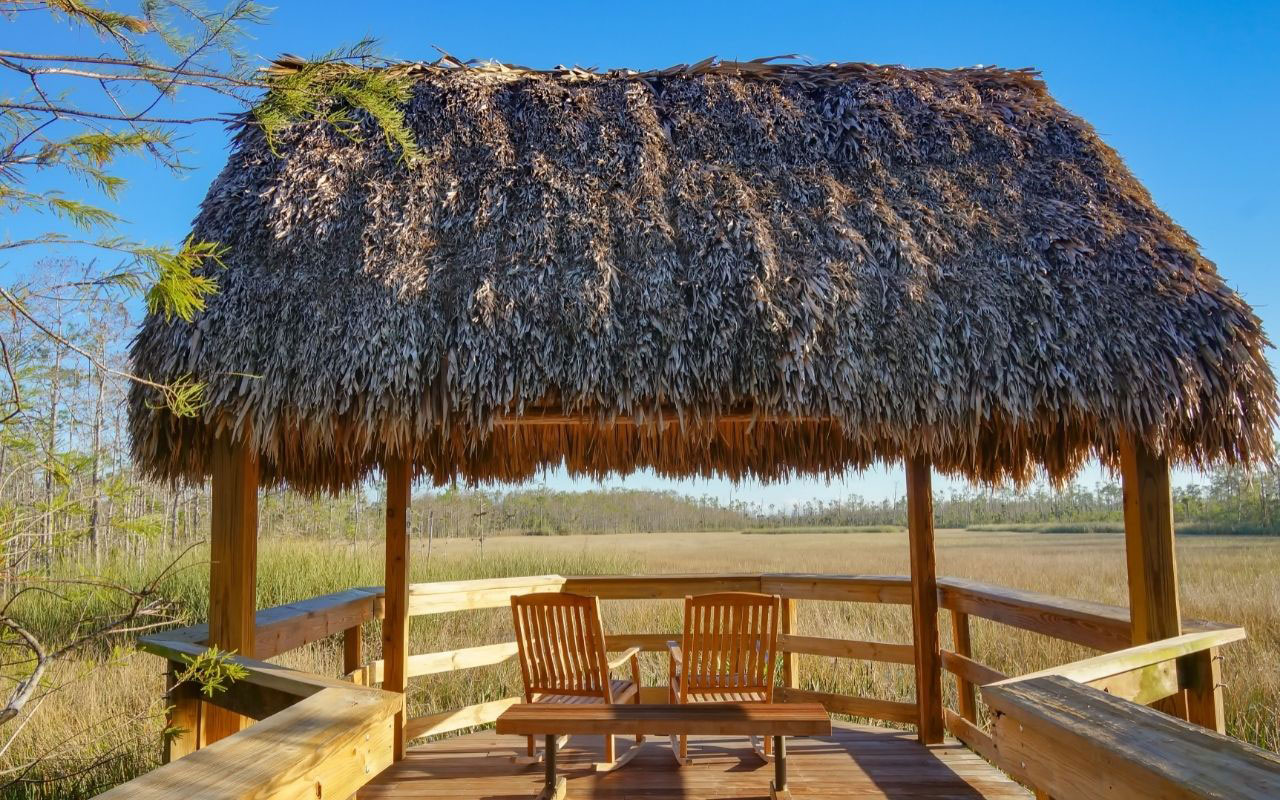
Roof Structure Assemble
After building the structure, you need to install a tiki hut’s roof. If you wish to have your tiki hut constructed in an ideal location, you can contact a builder who will guide you through the process. This way, you will be able to use your new tiki hut as soon as possible. You can then begin planning your wedding or other events!
With the tiki hut roof material, in this case, the structure of wood and plywood, you’ll form the roof, all you need is to use the nails to create the shape of the top, and after that, you have to adhere the thatch.
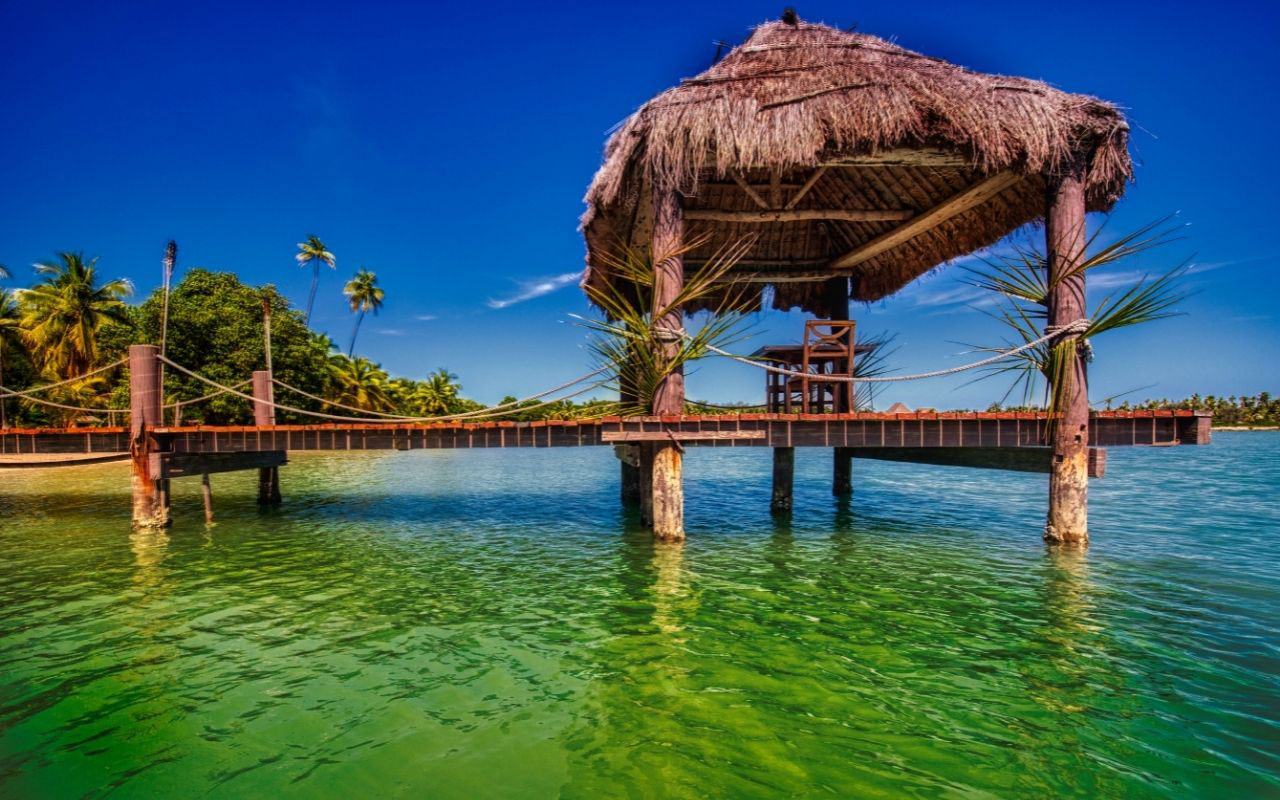
The thatch offers shade and covers you from the rain giving you a place for shelter, that’s why they are very famous on the beaches and pacific islands. Fasten the thatch panels with staples, starting at the bottom and working your way to the top.
Decoration for your Tiki Hut

Once the structure is in place, the next step is to determine how to decorate it. A tiki hut is usually open at the top, so you may want to add a giant tiki statue in the front. If you have enough space, hang lanterns along the edges of the thatched roof. Depending on the size of your tiki hut, you may also want to add a bar or countertop for your guests.
In addition, if you want to repair a tiki hut, don’t hesitate to call us!
Contact us and get a free estimate!


